How to install and use Cacti on Ubuntu 20.04
What is Cacti
The following features are offered by Cacti, a comprehensive network graphing solution created to maximize the potential of RRDtool’s data storage and graphing functionality:
- Remote and local data collectors
- gadget discovery
- generation of devices and graphs automatically
- Device and graph tagging
- individual data gathering techniques
- Controls over the user, group, and domain access
All of this is contained inside a simple interface that is both intuitive and easy to use and is appropriate for both small LAN installations and extensive networks with hundreds of connected devices.
Ian Berry created it as a high school project in the early 2000s. Hundreds of businesses and enthusiasts have used it to monitor and manage their enterprise networks and data centers.
Suppose you see any issues referencing missing tables or columns in the database, whether you are working with the source code or downloading the code directly from the repository. In that case, you must perform the database upgrade script.
Install Cacti Server on Ubuntu 20.04/18.04
Before you can deploy the Cacti server itself, you must install and set up a number of its dependencies. The installation of each of these dependencies will be covered in turn in this guide:
Step 1: Update the operating system and all packages:
To avoid any dependency concerns, we always begin with server package upgrades:
sudo apt updatesudo apt upgrade -yAfter an upgrade, you can restart the server:
sudo rebootStep 2: Install PHP and any necessary modules
The next step is installing PHP and a few PHP modules that Cacti needs. To get everything set up and installed, type the following commands:
sudo apt -y install apache2 php php-{mysql,curl,net-socket,gd,intl,pear,imap,memcache,pspell,tidy,xmlrpc,snmp,mbstring,gmp,json,xml,common,ldap}sudo apt install libapache2-mod-php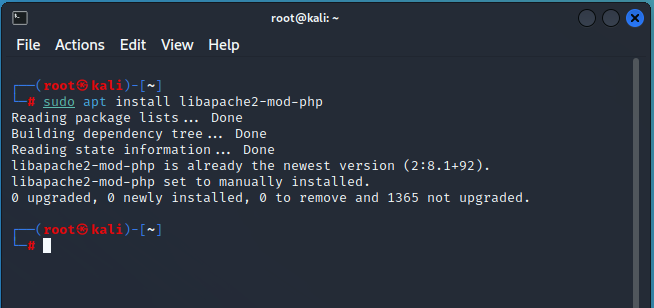
The two modules php-snmp and php-mysql are the most crucial. Ensure that they are set up. The command: will allow you to determine your PHP version
php -vHP 8.1.2 (cli) (built: Apr 24 2022 08:36:32) (NTS)
Copyright (c) The PHP Group
Zend Engine v4.1.2, Copyright (c) Zend Technologies
with Zend OPcache v8.1.2, Copyright (c), by Zend Technologies
Update PHP parameters:
sudo vim /etc/php/*/apache2/php.ini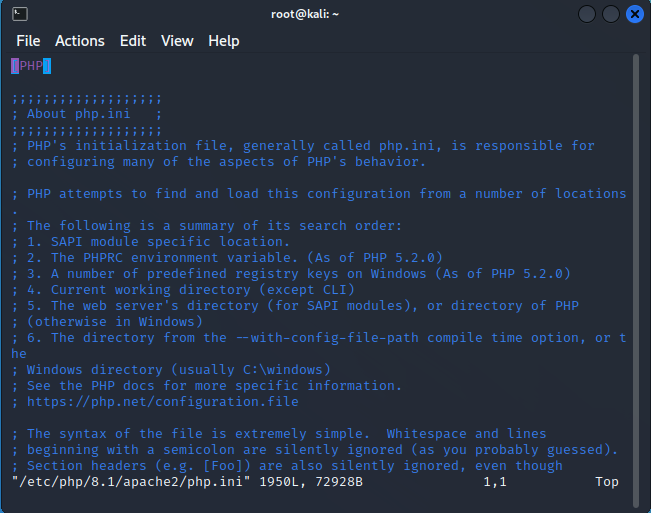
Set the correct timezone:
date.timezone = "America/Los_Angeles"Update memory limit:
memory_limit = 512MAdditionally, modify Each script’s maximum execution time:
max_execution_time = 300Start the Apache Web server again
Step 3: Configure the Apache Web server
Make sure the Apache web server is set up:
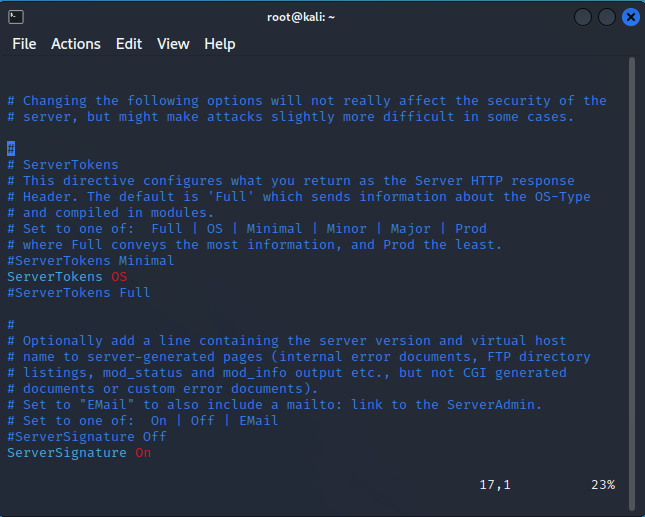
sudo apt install apache2After setting up Apache, restrict Prod ServerTokens exclusively and establish the fundamental security.
sudo vim /etc/apache2/conf-enabled/security.confChange line 25:
ServerTokens ProdThis directive sets the parameters for the HTTP server response that you send. Full | OS | Minimal | Minor | Major | Product are all acceptable choices.
Change ServerName:
sudo vim /etc/apache2/apache2.confServerName cacti.example.com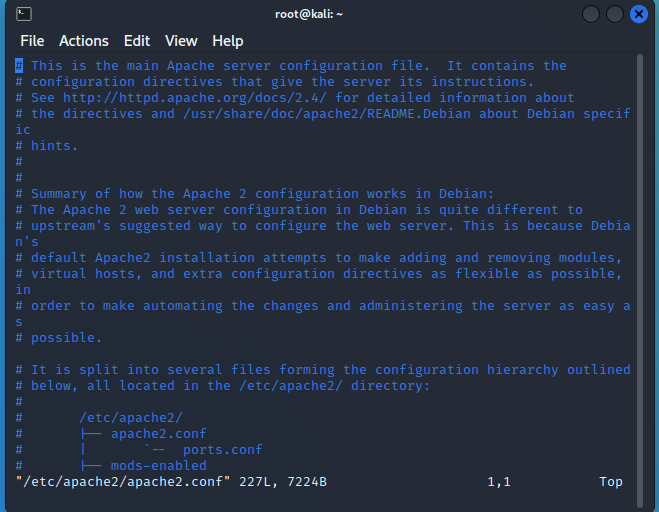
Make sure Server Admin receives an email in the event of a problem:
sudo vim /etc/apache2/apache2.confServerAdmin adminuser@example.comOpen the http and https ports on the firewall if you have ufw enabled.
sudo ufw allow http
Rule added
Rule added (v6)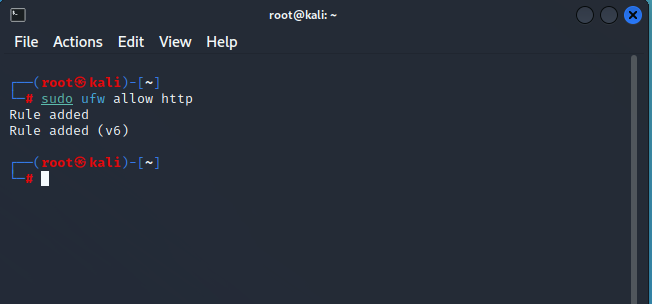
sudo ufw allow https
Rule added
Rule added (v6)
After making these modifications, the Apache Web Service needs to be restarted:
sudo systemctl restart apache2Step4: Install and set up the MariaDB database
To install the MariaDB server on Ubuntu, do the following commands:
sudo apt install mariadb-server -y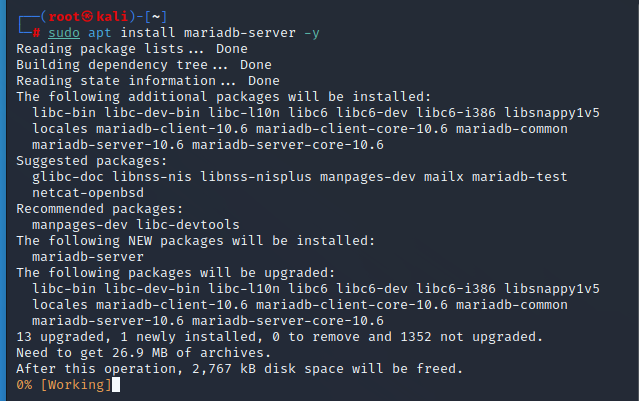
Prepare MariaDB for Cacti by tuning it
Under [mysqld], add the following settings:
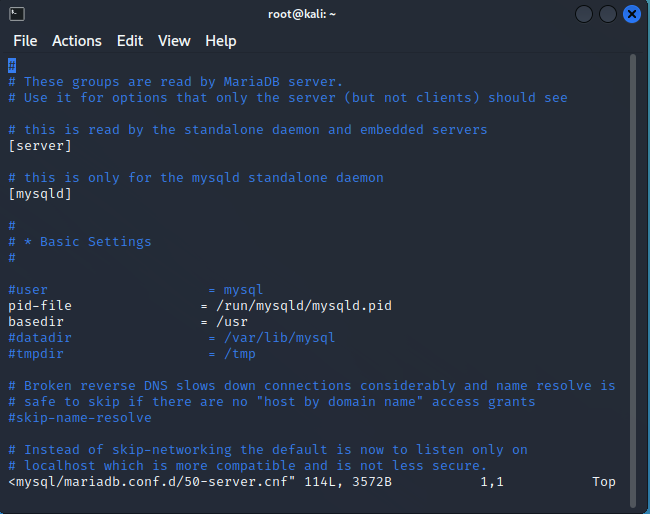
sudo vim /etc/mysql/mariadb.conf.d/50-server.cnf[mysqld]
innodb_file_format=Barracuda
innodb_large_prefix=1
collation-server=utf8mb4_unicode_ci
character-set-server=utf8mb4
innodb_doublewrite=OFF
max_heap_table_size=128M
tmp_table_size=128M
join_buffer_size=128M
innodb_buffer_pool_size=1G
innodb_flush_log_at_timeout=3
innodb_read_io_threads=32
innodb_write_io_threads=16
innodb_io_capacity=5000
innodb_io_capacity_max=10000
innodb_buffer_pool_instances=9Comment out additional local settings
#around line 116
#character-set-server = utf8mb4
#collation-server = utf8mb4_general_ci
Restart mariadb service
sudo systemctl restart mariadbUse the mysql select statement, for example, to examine any of these values.
sudo mysql -u rootMariaDB [(none)]> select @@tmp_table_size;
+------------------+
| @@tmp_table_size |
+------------------+
| 134217728 |
+------------------+
1 row in set (0.00 sec)
MariaDB [(none)]> exitOr
MariaDB [(none)]> show variables like 'join_buffer_size';After installing the database server, you must build a database for Cacti:
sudo mysql -u root -pCREATE DATABASE cacti DEFAULT CHARACTER SET utf8 COLLATE utf8_unicode_ci ;
GRANT ALL PRIVILEGES ON cacti.* TO 'cacti_user'@'localhost' IDENTIFIED BY 'strongpassword';
GRANT SELECT ON mysql.time_zone_name TO cacti_user@localhost;
ALTER DATABASE cacti CHARACTER SET utf8mb4 COLLATE utf8mb4_unicode_ci;
FLUSH PRIVILEGES;
EXIT;
Database connection testing:
mysql -u cacti_user -p
Enter password: strongpassword
MariaDB [(none)]> show databases;
+--------------------+
| Database |
+--------------------+
| cacti |
| information_schema |
+--------------------+
2 rows in set (0.00 sec)
MariaDB [(none)]> \q
For the cactus database user, configure the mysql time zone
sudo su -mysql_tzinfo_to_sql /usr/share/zoneinfo | mysql -u root -p mysql
Enter password:
Warning: Unable to load '/usr/share/zoneinfo/leap-seconds.list' as time zone. Skipping it.Step 5: Install SNMP and Cacti on Ubuntu 20.04/18.04
Cacti and SNMP packages are the last two to be installed. SNMP and the RRDtool tool are essential to the operation of Cacti. Install these files by using the following command:
sudo apt install snmp snmpd snmp-mibs-downloader rrdtool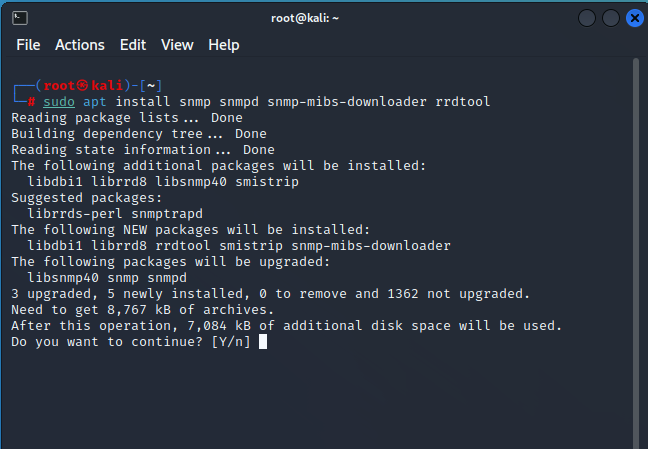
Choose Apache when prompted to select a web server
Clone Project from github:
sudo apt install git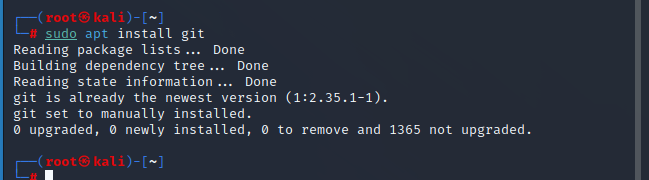
git clone -b 1.2.x https://github.com/Cacti/cacti.git
Place the files in the /var/www/html directory after cloning the Cacti repository:
sudo mv cacti /var/www/htmlLet’s now populate the cacti database with data:
sudo mysql -u root cacti < /var/www/html/cacti/cacti.sqlWe can now build the config.php file in /var/www/html/cacti/include with the database filled out:
sudo mv /var/www/html/cacti/include/config.php.dist /var/www/html/cacti/include/config.phpModify Cacti configuration file and make sure to adjust the database settings as needed:
sudo vim /var/www/html/cacti/include/config.php$database_type = 'mysql';
$database_default = 'cacti';
$database_hostname = 'localhost';
$database_username = 'cacti_user';
$database_password = 'strongpassword';Step 6: Set up SNMP
Start by uncommenting the following line in /etc/snmp/snmp.conf to enable the loading of MIBs.
sudo vim /etc/snmp/snmp.confChange
mibs :to
# mibs :Start by uncommenting the following line in /etc/snmp/snmp.conf to enable the loading of MIBs.
sudo vim /etc/snmp/snmpd.confallowing complete access from localhost
rocommunity MyCacti localhostComment below the lines to disable public access:
rocommunity public default -V systemonly
rocommunity6 public default -V systemonly
to
# rocommunity public default -V systemonly
# rocommunity6 public default -V systemonly
Snmpd service restart:
sudo systemctl restart snmpdUtilize the command line utility snmpwalk to verify SNMP configurations:
sudo snmpwalk -v 2c -c MyCacti localhost systemDon’t forget to substitute the name of your community string for MyCacti.
Step 7: Setting up Cacti Server on Ubuntu 20.04/18.04
Set Cacti directory permissions as follows:
sudo chown -R www-data:www-data /var/www/html/cactiFor Cacti, create a systemd unit file:
sudo tee /etc/systemd/system/cactid.service< Devices > + (Add device)Complete the server information, scroll down, and click the “Save” button.
Step 10: Using Cacti Spine Poller
The spine is a high-speed, multi-threaded data-collecting tool that replaces cmd.php in Cacti. By following the instructions in the link below, you can install and use it:
Conclusion
A PHP-based open-source tool for network monitoring and graphing is called Cacti. It is web-based and uses a MySQL database to store all the information needed to create and populate graphs. It can poll network devices, monitor bandwidth usage, and produce extremely eye-catching graphs of it. It uses the SNMP protocol to gather information on distant equipment, including switches and routers. Cacti enable you to keep an eye on network activity and bandwidth consumption through a web browser. This article described how to set up the Ubuntu server with Cacti’s monitoring tool installed and configured. From the Cacti dashboard, you can now add network devices and begin monitoring them using a web browser. If you have any questions, please don’t hesitate to ask.
You can use the Xitoring free plan to monitor your services in a modern way. Try today!