Install LEMP Stack on CentOS 8
What is LEMP Stack
LEMP (Linux, NGINX, MySQL, PHP) is a software stack that used to be the environment for Websites and Web-applications which uses Linux as the Operating system, NGINX (Engine-X) as the web-server, MySQL as the database management system, and PHP as the Scripting language. is almost like LAMP stack with one main difference in the web-server application, in the LEMP stack we use NGINX as the web-server application which is more flexible and lightweight than Apache.
Install NGINX
For installing NGINX on CentOS 8 you have two options, you can install it via EPEL repository which probably won’t provide the latest stable version, or you can install it using the official RPM file provided by the NGINX website itself.
Installing NGINX using EPEL
First, you need to install the EPEL repository with the following command:
yum install epel-releaseAfter the installation process you can verify the installation using:
yum repolistNow you can install NGINX easily using yum with the command below:
yum install nginxInstalling NGINX using the RPM file
Download the desired version from the NGINX website from the following link:
https://nginx.org/packages/rhel/8/x86_64/RPMS/we are going to install version 1.18 which is the latest stable version at the time of writing this tutorial:
curl https://nginx.org/packages/rhel/8/x86_64/RPMS/nginx-debuginfo-1.16.0-1.el8.ngx.x86_64.rpmAfter you download the rpm file you can install it with:
rpm -ivh nginx-1.18.0-2.el8.ngx.x86_64.rpmStarting and Enabling NGINX service
You can start the nginx service using systemctl also you can make it run at the system startup:
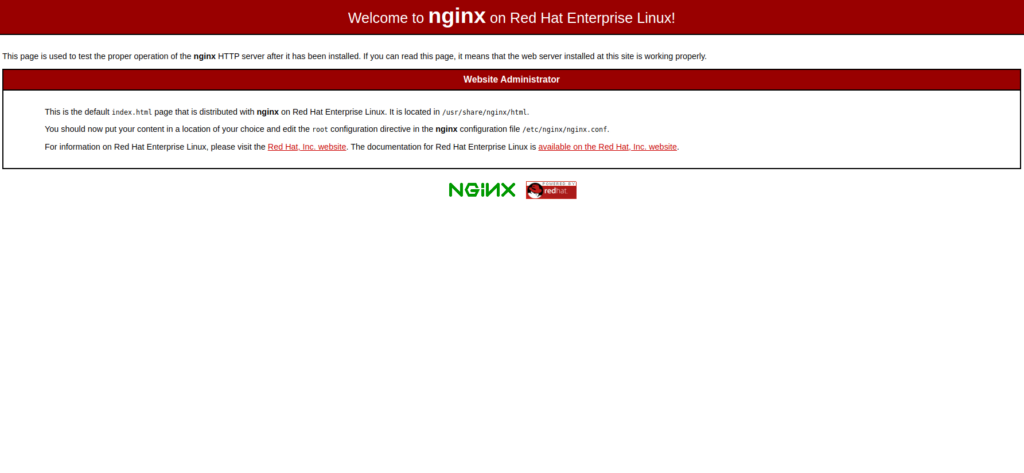
systemctl start nginxsystemctl enable nginxNow you can see the NGINX default page through your domain or Public IP Address like below:
Install MySQL
MySQL is an open-source relational database management system, which is the most common database management system at the time of writing this article, MySQL is freely available through almost all of the software repositories and as you can find out from the name it uses the SQL (Structured Query Language).
Install MySQL with the following command:
yum install mysql mysql-serverYou can start and enable MySQL service using:
systemctl start mysqldsystemctl enable mysqldThere is a useful tool that you have when you install MySQL is “mysql_secure_installation” which can be a very huge help for beginner users, it can help you do some initial ye important configuration easily using a wizard mode, you can start the process by typing:
mysql_secure_installationInstall PHP
PHP is a general-purpose scripting language which mostly used in the development of Web-Applications.
We are going to stick to the base repository and install PHP 7.2 which is not the latest stable version but it will do what we want, Also we need to install the “php-fpm” extension which is the module that NGINX uses to handle php requests:
yum install php php-fpmAfter the installation process you need to start and enable the php-fpm service with the following two commands:
systemctl start php-fpmsystemctl enable php-fpmConfigure NGINX to process PHP
In this section, we are going to do some configurations on NGINX to handle PHP requests through FastCGI (php-fpm). on CentOS 8 by default php-fpm will listen on “/run/php-fpm/www.sock” UNIX socket so we have to configure NGINX to forward PHP requests to that location.
Fortunately NGINX has a php.conf file almost ready for you at “/etc/nginx/default.d/php.conf”. you just need to open it with your text editor:
vi /etc/nginx/default.d/php.confchange the “fastcgi_pass” value to look like below:
fastcgi_pass unix:/run/php-fpm/www.sock;Your full configuration file should look like this:
# pass the PHP scripts to FastCGI server
#
# See conf.d/php-fpm.conf for socket configuration
#
index index.php index.html index.htm;

location ~ \.(php|phar)(/.*)?$ {
fastcgi_split_path_info ^(.+\.(?:php|phar))(/.*)$;

fastcgi_intercept_errors on;
fastcgi_index index.php;
include fastcgi_params;
fastcgi_param SCRIPT_FILENAME $document_root$fastcgi_script_name;
fastcgi_param PATH_INFO $fastcgi_path_info;
fastcgi_pass unix:/run/php-fpm/www.sock;
Now save and exit the file, and check NGINX configuration for errors with:
nginx -tif everything was ok, restart the NGINX service to take effect:
systemctl restart nginxVerify PHP process
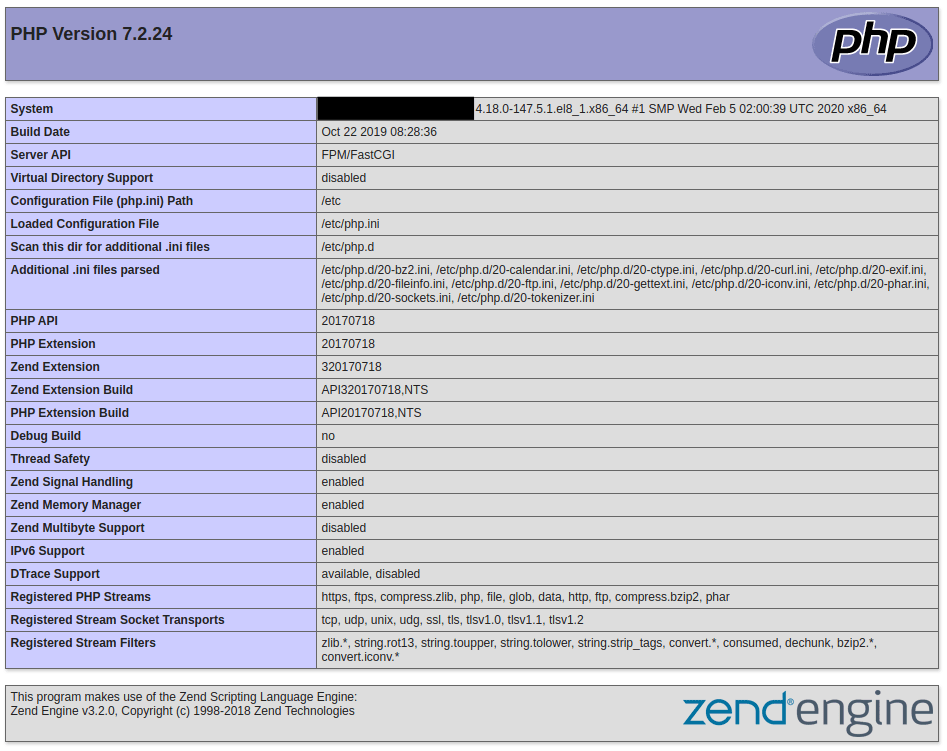
If you want to test that everything is working fine and your NGINX can handle PHP you can create an “info.php” file in the document root:
vi /usr/share/nginx/htmlJust copy and paste the following lines in the file then save and exit:
<?php
phpinfo();
?>
Now open your browser and enter your domain/IP address along with “/info.php”:
http://YOUR_DOMAIN_OR_IP_ADDRESS/info.phpIf you see something like the picture below then everything is OK and you are good to go.