Statuspal Integration with Xitoring
To integrate a third-party status page with Xitoring.com using Statuspal, follow the steps below:
Navigate to Services in Dashboard
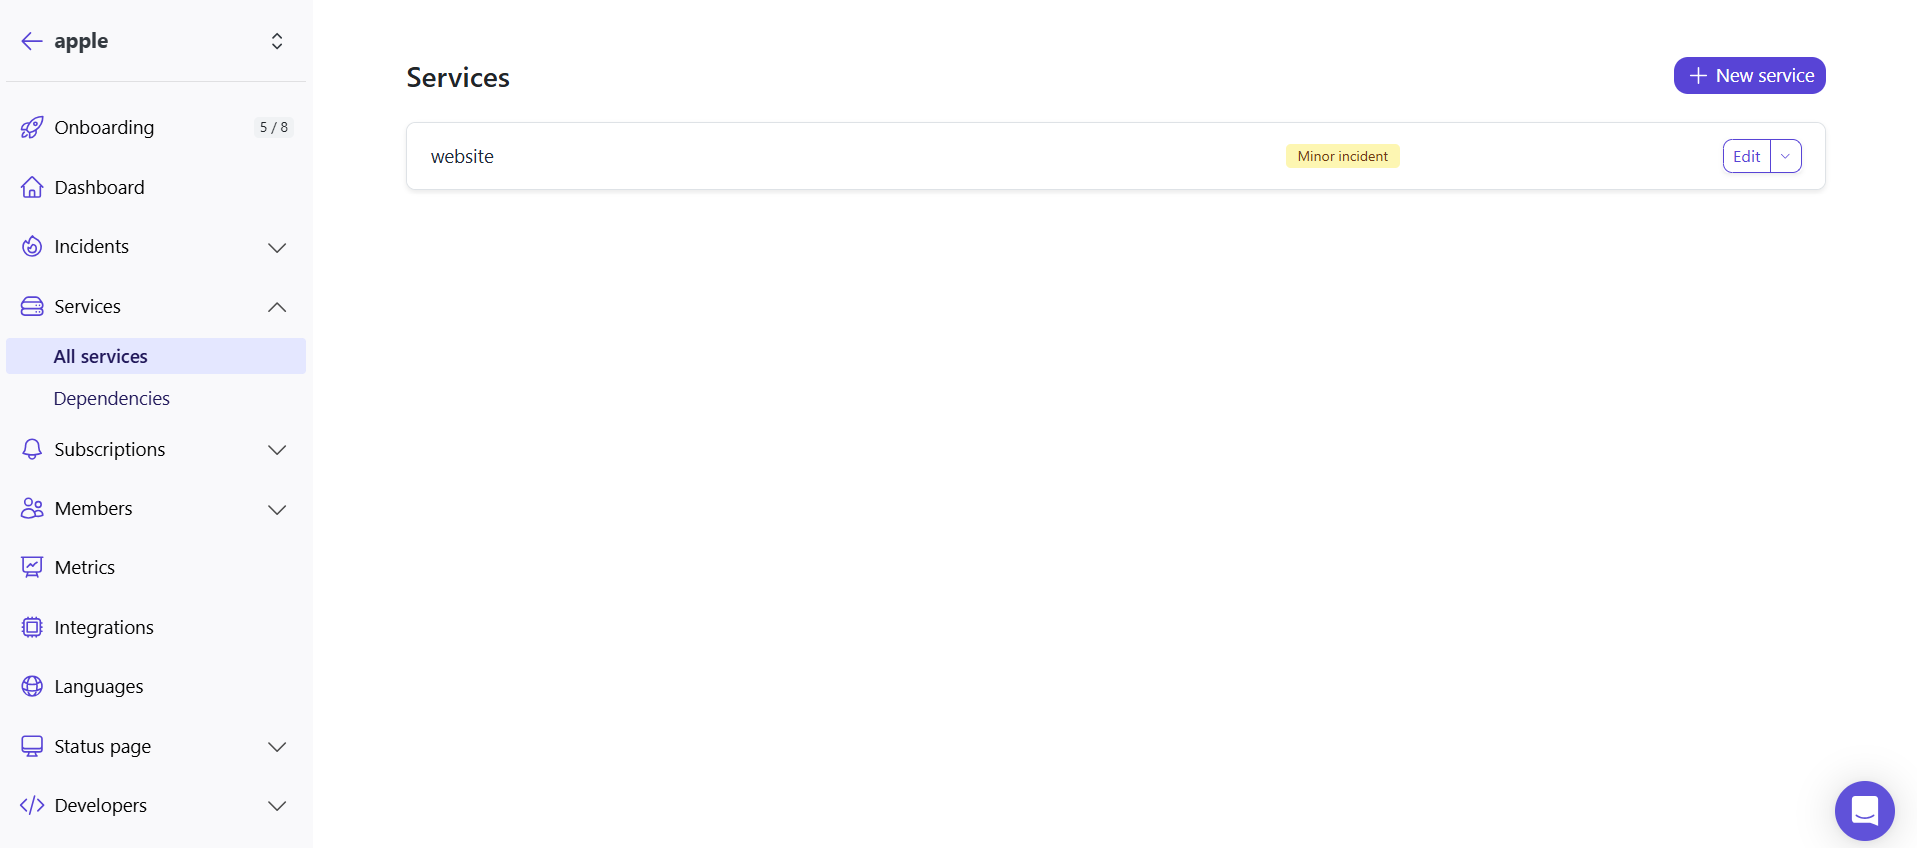
- From the Dashboard, go to the Services section.
- Click on the desired service to enter the Edit mode.
Enable Inbound Email Automation
- In the Edit section, locate the Inbound option and enable it by ticking the checkbox.
This activates email automation for the selected service.
- In the Edit section, locate the Inbound option and enable it by ticking the checkbox.
Configure Advanced Settings
- In the Advanced Settings, you can define custom keywords for status updates:
- Set the keyword for marking the service as Operational (e.g.,
UP). - Set the keyword for marking the service as Major Outage (e.g.,
DOWN).
- Set the keyword for marking the service as Operational (e.g.,
- After configuring the keywords, click the Update button to generate the email address.
- In the Advanced Settings, you can define custom keywords for status updates:
Retrieve the Update Email
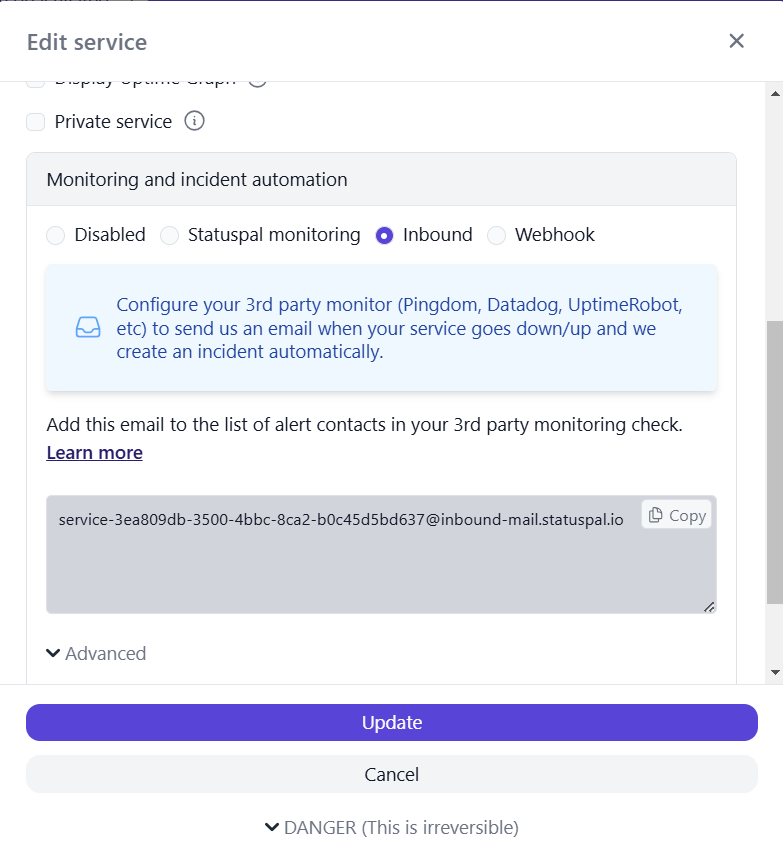
- Once you click Update, the system will display the generated email address.
This email address will be used to send status update notifications.
- Once you click Update, the system will display the generated email address.
Add Email to Notification Roles in Xitoring
- Go to the Notification Roles page in Xitoring.
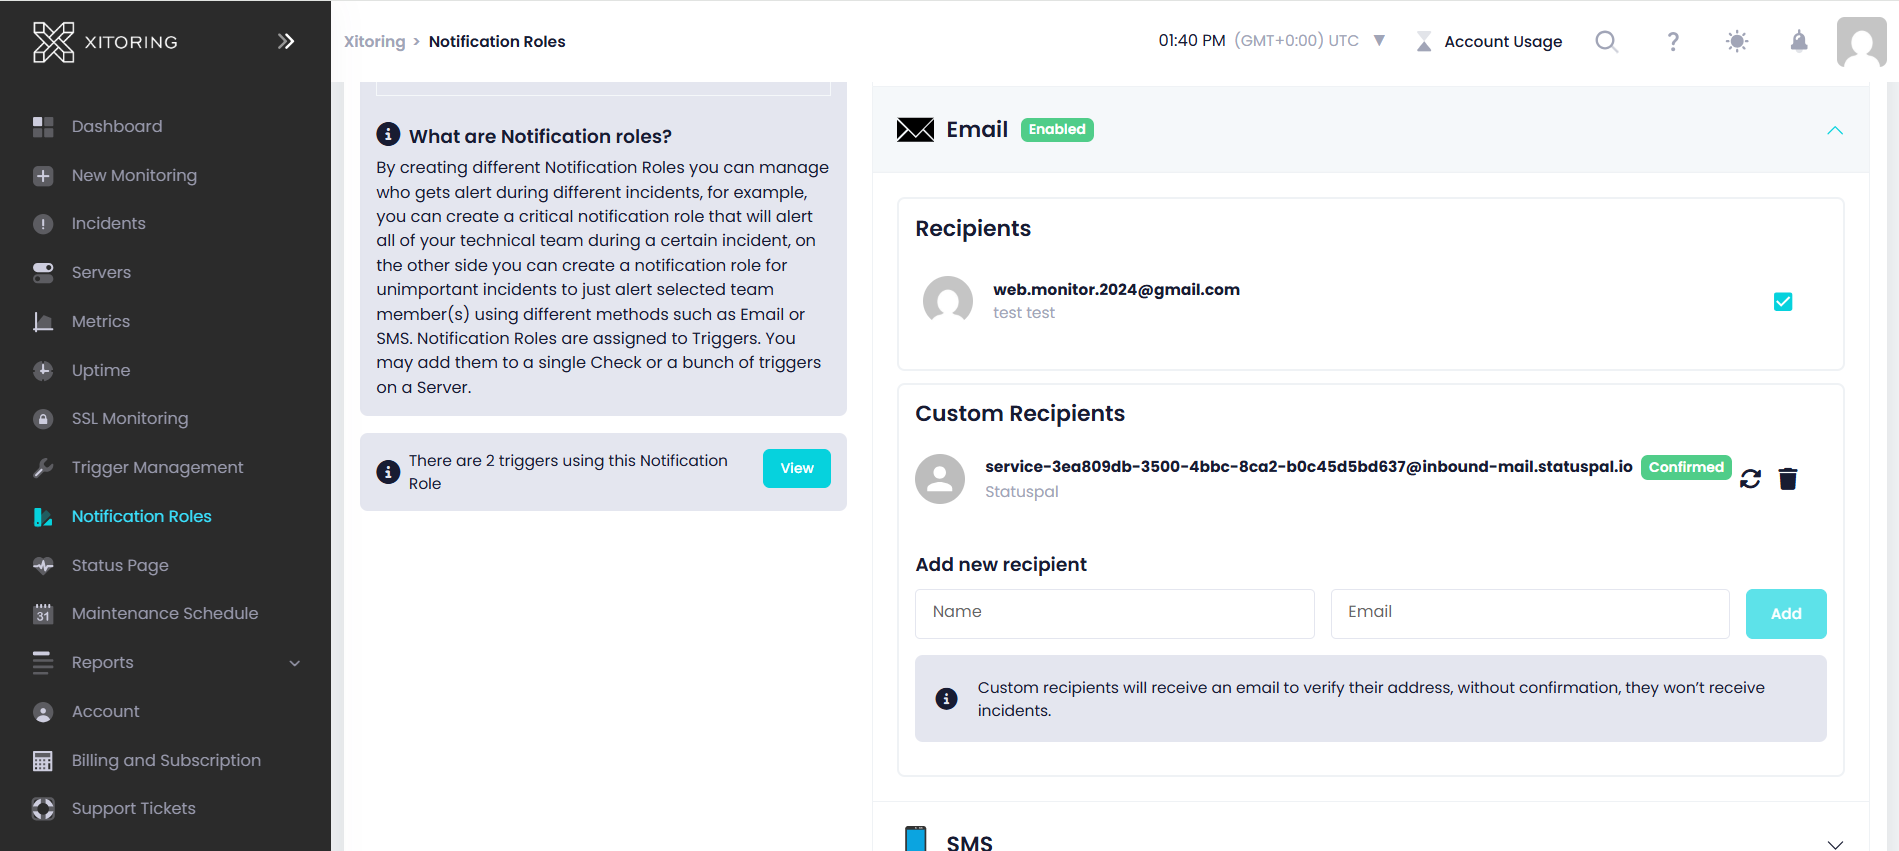
- In the Custom Recipients section, input the email address provided by Statuspal.
Once configured, Xitoring will automatically send status update emails, ensuring your Statuspal status page stays up to date effortlessly.
Prefer to keep everything in one place? Xitoring also has a built-in status page — see how it compares to Statuspal.